Rethink Landscape Processing in Lightroom


A Smarter System for Better Photos.
-

Gain Clarity & Focus
My 7-step workflow removes guesswork and decision fatigue so you can edit with clarity and intention.
-

Go Beyond Fixed Looks
This is a toolkit, not a one-click filter. Every tool is modular, stackable, and adaptable to your image and vision.
-

Sculpt Light & Atmosphere
Move past basic adjustments. Use brush-based tools to paint with light, shape mood, and create immersive atmosphere.
-

Build Your Unique Style
As your skills and artistic voice evolve, Rethink empowers you to craft your own signature landscape editing style.


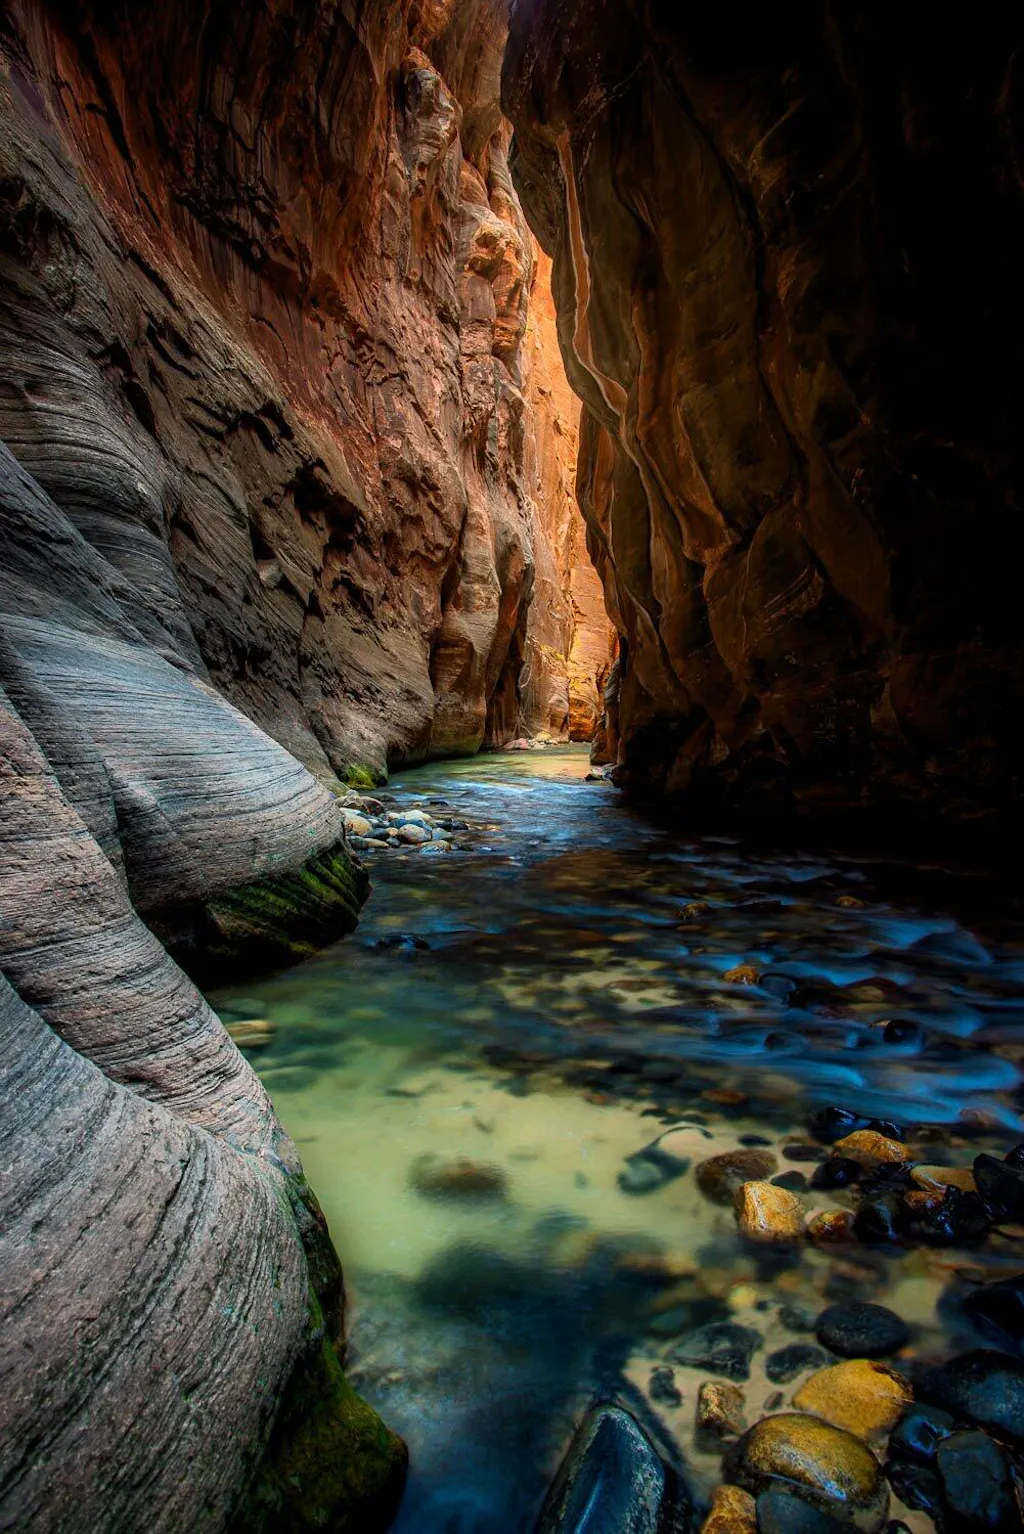
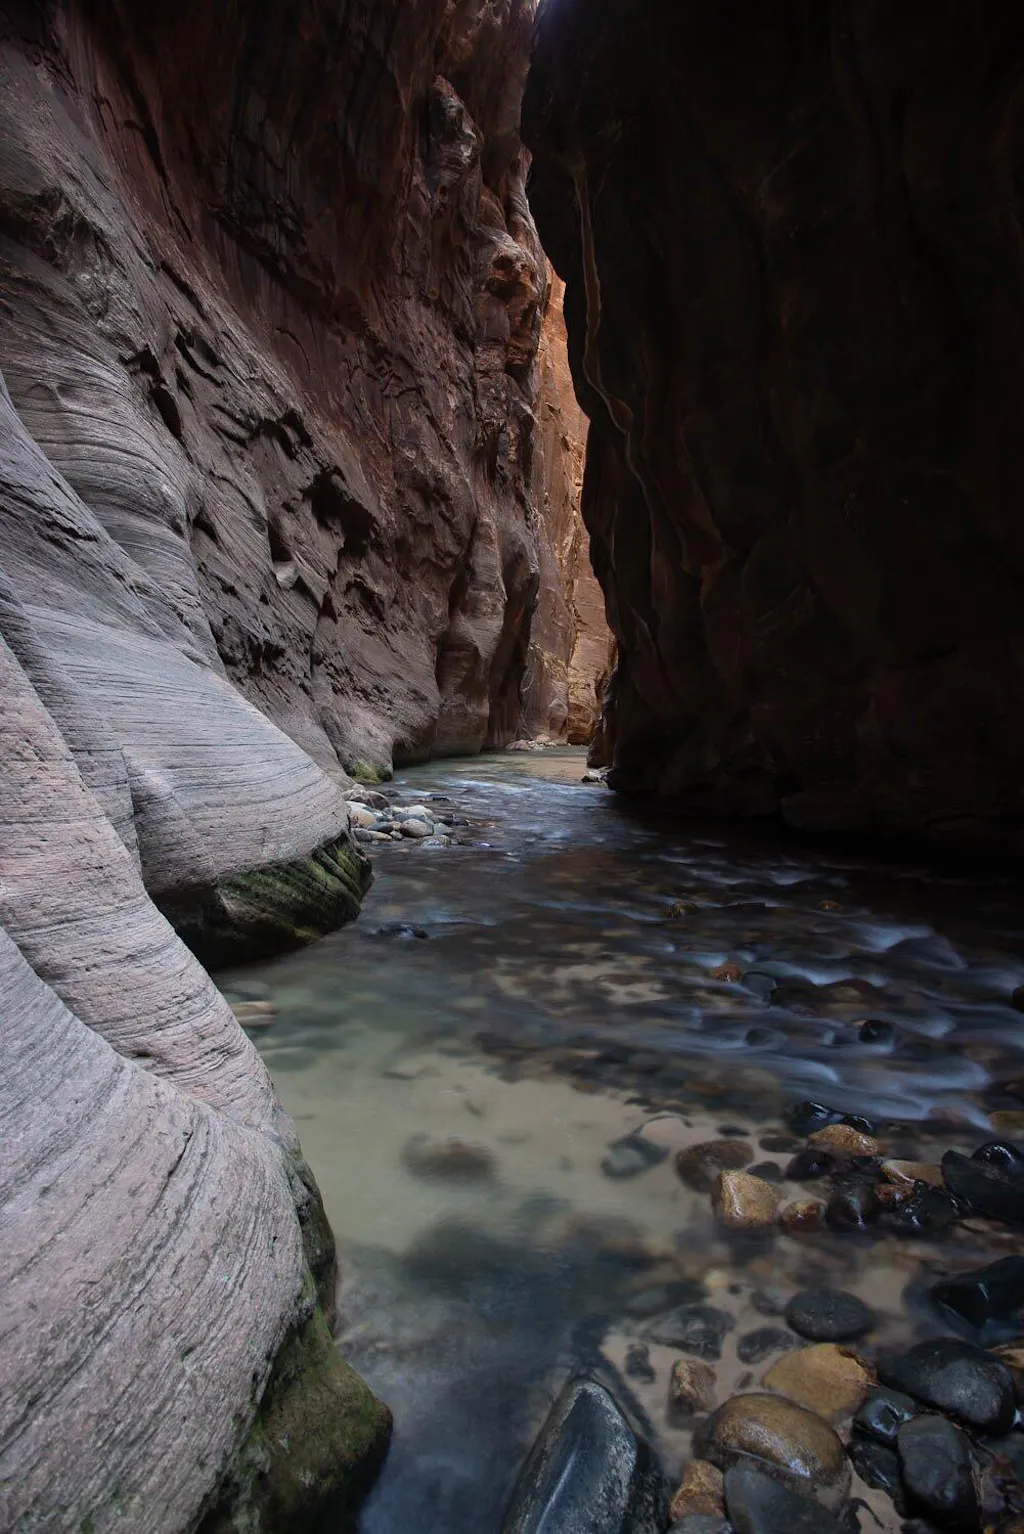
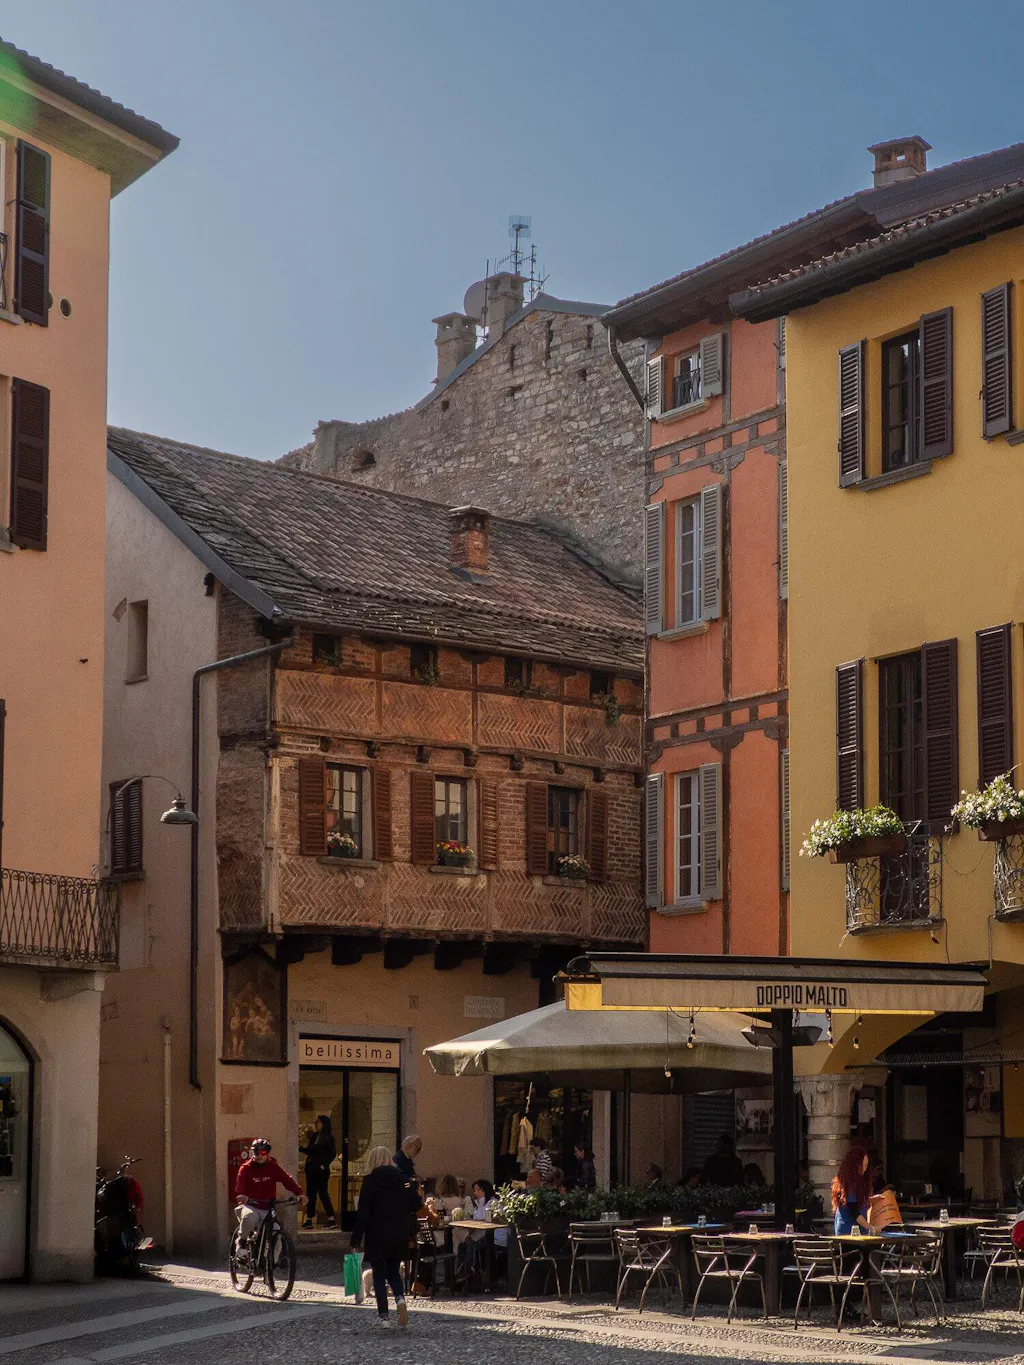
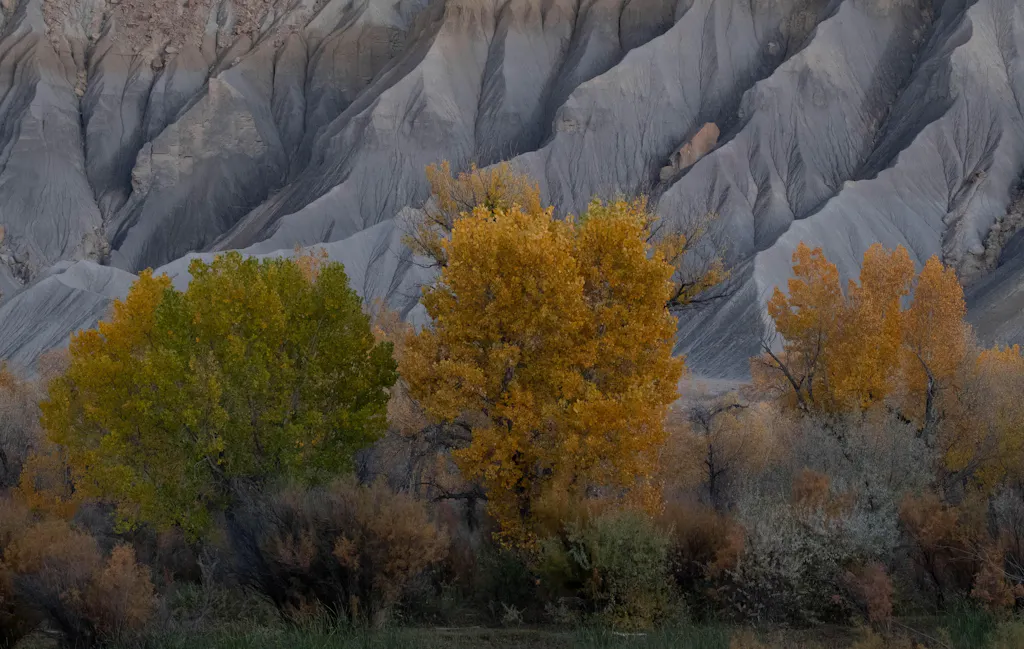
The Rethink Toolkit in Action


My Story: Why I Created Rethink
For years, I taught photography workshops and saw the same problem again and again: talented photographers getting lost in the complexity of Lightroom and Photoshop. They were following conventional rules and tutorials, but their final images lacked a personal spark. They felt stuck.
Rethink wasn't born from a desire to sell presets. It was born from my own need to build a logical, repeatable system for myself—a system that put creativity and intuition back at the center of the process, instead of just technical steps.
My goal is to do more than just give you tools; it's to share that entire methodology. This is the system that helps you break free from those same conventions and finally develop a workflow that feels like you. It’s about turning the editing process from a technical chore into an act of creative expression.
A Professional Process from Start to Finish.
The 7-Step Rethink Landscape Workflow
🧱 Rethink Core Prep
Essential First Steps for Flawless Edits
Goal: Build a flawless technical foundation before creative work begins. Follow Adobe-recommended best practices so your file is stable, optimized, and ready for advanced editing.
What you’ll do:
- Properly Sequence AI Tools: Merge HDRs or panoramas, apply Denoise, and run Raw Details or Super Resolution at the correct stage to avoid technical issues later.
- Clean and Correct: Use a custom preset to reveal and remove hidden dust spots, and apply essential lens corrections for optical accuracy.
- Set a Perfect White Balance: Temporarily hyper-saturate the image to spot and neutralize subtle color casts with precision.
- Analyze Composition: Convert the image to monochrome and blur it to remove distractions so you can refine crop and framing based on shapes and flow.
🚀 Rethink Style Launch
Choose Your Creative Starting Point
Goal: Select a foundational style that sets the overall contrast and tonal direction of your image. This is the closest the toolkit comes to a traditional preset, but it is designed as a launch pad for editing, not as a one-click final look.
What you’ll do:
- Match Preset to Photo: Choose a starting point based on your image’s dynamic range (Low, Medium, High, or Extreme). Each preset uses an Adobe Color Profile optimized for that type of scene, ensuring accurate tones and consistent results.
- Utilize AI and HDR Power: Pick from standard presets for full manual control, AI-powered adaptive presets that intelligently analyze your image, or HDR-optimized presets designed to look their best on modern high-dynamic-range displays.

🔳 Rethink Tonal Adjustments
Sculpt Light and Shadow
Goal: Refine the light and shadow in your image before making creative color adjustments. Tonal changes affect both color saturation and hue, so addressing tonal structure first gives you more control and leads to cleaner, more predictable results when you adjust color later.
What you’ll do:
- Targeted Contrast: Move beyond the basic contrast slider. Add definition exactly where you want it, whether in the highlights, mid-tones, or shadows.
- Advanced Dodging and Burning: Brighten or darken with precision. Use tools that dodge only the highlights or burn only the shadows for surgical control over the light.
- Sculpt the Sky: Enhance clouds, darken the horizon for a grounded composition, or increase sky contrast without affecting the land.
- Analyze Like a Pro: Apply a Zone System visualization to evaluate tonal balance or use a Print Detail Clipping Warning to identify areas that are too bright or dark to hold detail in a final print.

🎨 Rethink Color Adjustments
Create Harmonious and Vibrant Colors
Goal: Make precise, targeted color adjustments to shape the visual character of your image and create a cohesive, natural palette. With your tonal structure already established, you can focus entirely on creative color work.
What you’ll do:
- Evaluate Color Flow: Similar to analyzing composition in black and white, use a blur tool to simplify the image so you can see how colors interact as abstract shapes. This helps guide intentional color choices.
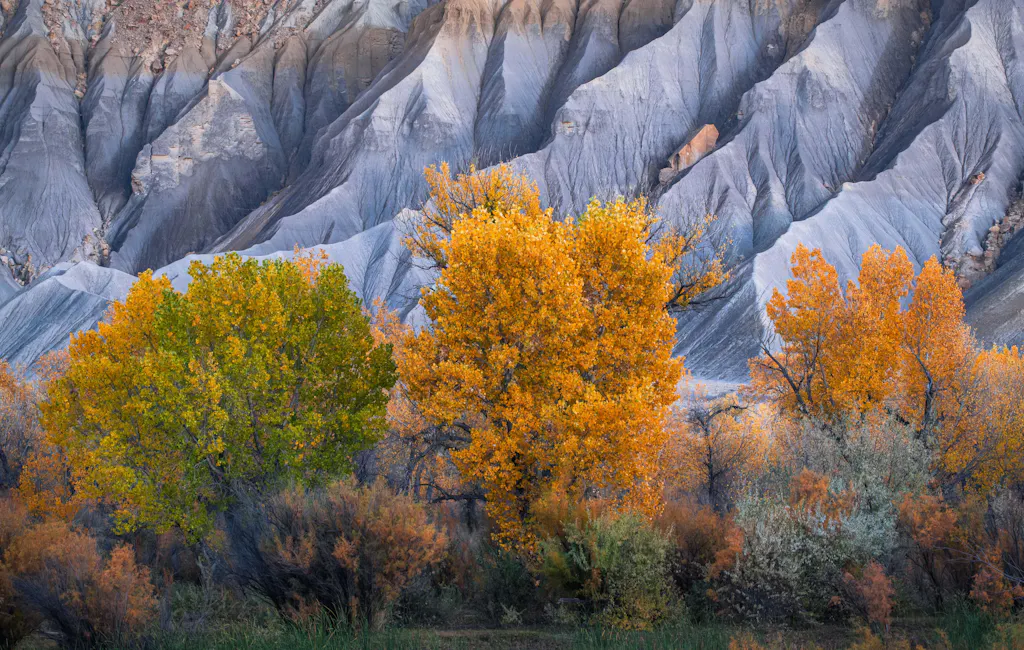
- Solve Common Problems: Address frequent landscape issues such as overly bright “neon” greens in foliage, rescuing detail in brightly colored flowers, or making fall colors pop with richness and depth.
- Master Saturation: Move beyond the global Vibrance slider. Use targeted masks to revive muted tones or control oversaturated areas with precision.
- Creative Color Grading: Add subtle warmth to highlights, apply nuanced color grading beyond the standard panel, or use the Color Dodge tool to apply both light and color at the same time.

🔍 Rethink Detail Adjustments
Enhance Texture and Clarity
Goal: Selectively enhance texture, sharpness, and microcontrast for a clean, crisp final image. This step prevents the globally over-processed look by applying detail adjustments only where they are needed most.
What you’ll do:
- Targeted Noise Reduction: Reduce noise exactly where it appears, such as in smooth sky areas or deep shadows, without softening important details elsewhere in the image.
- Intelligent Clarity and Microcontrast: Add definition to mid-tones and enhance microcontrast to bring out fine textures, or paint clarity specifically onto highlights to emphasize areas touched by light.
- Advanced Sharpening: Select a sharpening style that suits your image — the “Artifact-Free” option for clean, natural results or the “High Detail” option for maximum crispness. Apply extra sharpening only to your main subjects for precise visual impact.

✨ Rethink Effects
Add Atmosphere and Style
Goal: Go beyond foundational adjustments to give your image a distinct artistic signature. This is the stage where you enhance atmosphere, mood, and visual depth with creative effects that fully express your vision.
What you’ll do:
- Paint with Light: Extend your dodging and burning skills by adding realistic, warm sunlight with the “Add Light” brush or removing light from targeted areas with the “Remove Light” brush for precise control.
- Craft the Atmosphere: Introduce believable fog, create dramatic sunbeams, or choose from glows such as Luminous, Twilight, and Desert Glow. You can also emulate atmospheric perspective to increase depth in your scene.
- Apply Signature Styles: Instantly add signature effects, including multiple versions of the Orton effect (with options to protect fine details or affect only the sky), a soft “Painterly” style, or a moody “Silvery” moonlight look.
- Dramatic Enhancements: Develop compelling low-key or high-key images, or enhance skies to be more dramatic and visually striking as the final touch to your composition.

✂️ Rethink Selections
Craft Custom Masks for Ultimate Control
Goal: Give you the precise, powerful building blocks behind the entire Rethink system. While most presets in the toolkit already include these selections, this section provides perfectly refined masks so you can create entirely custom adjustments from scratch.
What you’ll do:
- Access Instant Luminosity Masks: Create refined selections for Lights, Darks, and Mid-tones instantly. Achieve the same targeted control photographers often build manually in Photoshop, all with a single click inside Lightroom.
- Perfect Sky and Land Selections: Improve on Lightroom’s default AI Sky tool with masks that offer superior feathering for a smooth, natural transition between sky and land.
- Target by Depth: Select the Foreground, Mid-ground, or Background of your image instantly, allowing you to adjust elements based on their position in the scene.
- Smart AI Selections: Use one-click AI-powered masks for common landscape elements such as Water, Vegetation, Mountains, and Natural Ground, ready for precise custom edits.

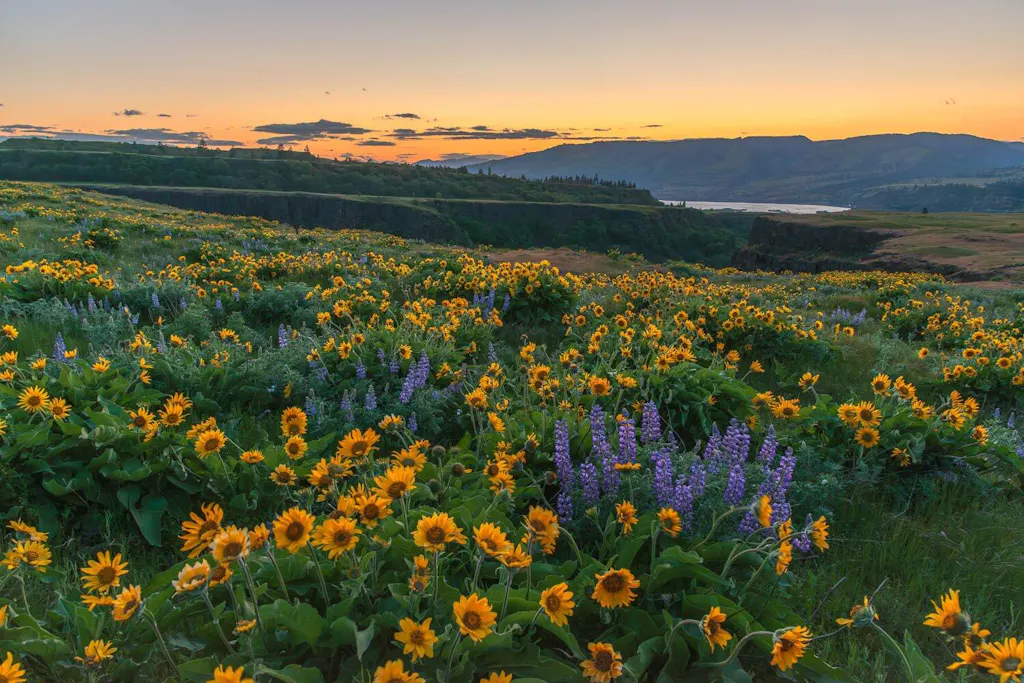
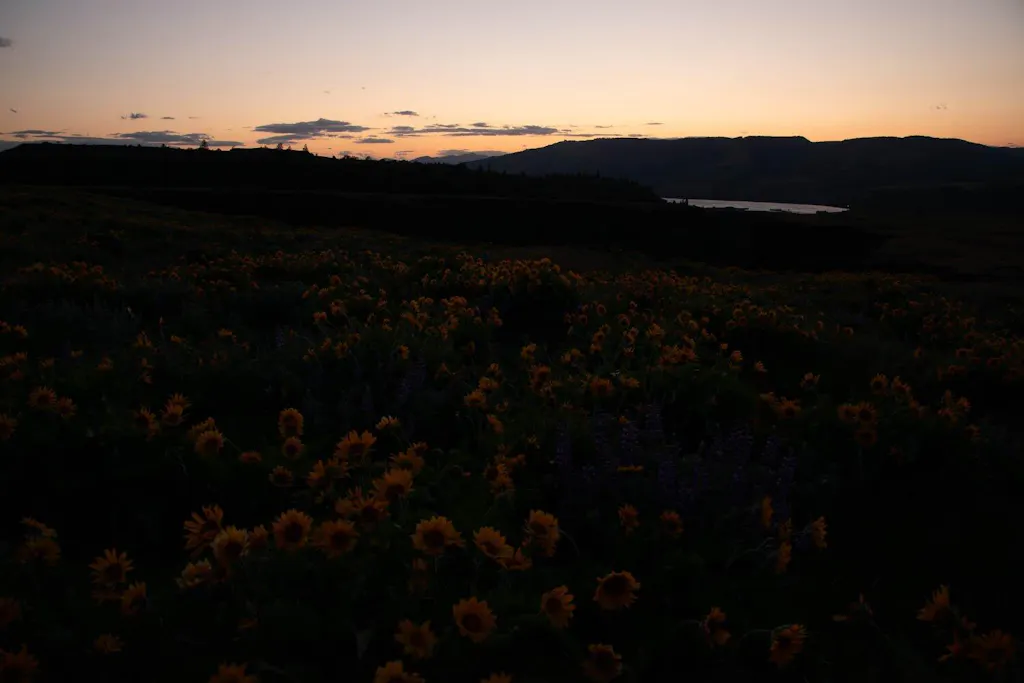
Your Starting Point, Perfected


Sculpt with Light and Shadow
Take control with precision. Advanced dodge and burn tools let you brighten highlights, deepen shadows, or adjust contrast in mid-tones. This allows you to paint focus and depth exactly where you want it.


The Signature Orton Glow
Add a dreamy glow with intention. My Orton effect targets highlights, creating a natural, soft bloom without compromising shadow detail. No muddy results.


Reveal the Bones of Your Composition
Strong composition is everything. A unique evaluation preset simplifies your image into tone and form, removing color and detail so you can clearly see the skeleton of your scene.


Choose Your Transformation

Rethink Landscape Toolkit
THE SYSTEM: A Smarter Way to Edit
Get the revolutionary landscape editing system built on my 7-step Rethink methodology. This hands-on Lightroom and Adobe Camera Raw toolkit is for photographers who want to move beyond generic presets and gain precise, creative control over every image.
- A Complete Toolkit: 100+ crafted presets, AI masks, and brushes tailored for real-world landscape editing.
- A Proven Workflow: A step-by-step roadmap from raw file to refined image.
- Achieve Professional Results, Faster: Elevate your edits in less time with more creative freedom.

Rethink Landscape Processing Course + Toolkit
THE COURSE: Master the 'Why' Behind the 'How'
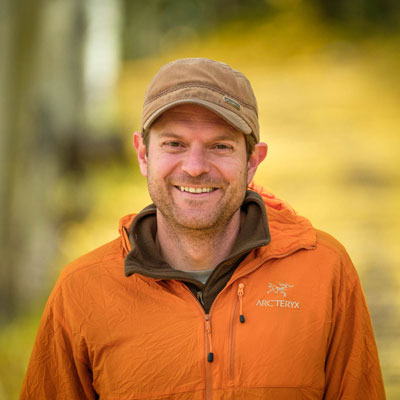
For those who want to go deeper, the Rethink Landscape Course is the definitive learning experience. You don’t just get the tools—you get the entire philosophy, explained by me, David Kingham. Internalize the methodology to unlock a lifetime of creative growth.
- Includes Everything in the Toolkit, PLUS:
- In-Depth Video Lessons: Learn the artistic philosophy behind every tool from me directly.
- Start-to-Finish Case Studies: Watch me edit, explain decisions, and reveal workflow nuances.
- Develop True Artistry: Move from settings-driven edits to seeing and thinking like an artist.
Rethink Landscape Course
Rethink Landscape Toolkit
Complete Rethink Preset Toolkit (100+ Lightroom & Adobe Camera Raw presets, masks, and brushes)
Quick Start Video Guide
Priority Email & Community Support
Technical Support
Installation & File Support
Private Course Community
Community Access
Toolkit Support Forum
The 7-Step Workflow Training

Start-to-Finish Editing Case Studies
Preset Customization Mastery
Direct Q&A with David Kingham
$197 (includes toolkit)
Your Investment
$39

Frequently Asked Questions
Think of it as the difference between having the tools and learning the complete process.
- The Rethink Toolkit: A professional set of Lightroom and Adobe Camera Raw presets built around the 7-step Rethink workflow. You get over 100 tools for precise tonal, color, detail, and creative adjustments, designed for photographers who want structure and flexibility.
- The Rethink Course: Everything in the toolkit plus in-depth training. You will learn the why behind each step, see full start-to-finish edits, and understand how to apply the methodology to develop your own personal editing style.
The full preset toolkit is included with the course.
No. These are not one-click filters. They’re modular tools you stack and customize. You’ll get the most out of them if you already have a basic understanding of Lightroom or Adobe Camera Raw.
If you’re newer to editing, the course walks you through every step so you can use the system effectively and start building confidence right away.
For the best experience, use the latest version of Lightroom. This ensures compatibility with all the AI-powered masking tools and adaptive presets.
The system also works with:
- Adobe Camera Raw (ACR) and Lightroom CC (Desktop)
- Lightroom Mobile (presets can be synced, but detailed editing is best on desktop)
If you’re using an older version of Lightroom, most tools will still work, but the newest AI features may be unavailable.
Windows Users: The toolkit is fully functional. A known display issue causes custom icons to appear in black and white or not at all, but this does not affect how the tools work.
The Toolkit runs inside Lightroom Classic, Lightroom (CC), or Adobe Camera Raw. If your computer meets Adobe’s minimum specs, it will run — but since the Toolkit uses masking heavily, faster hardware makes a big difference.
What’s the minimum hardware I need?
- RAM: 8 GB (absolute minimum)
- CPU: Quad-core, 2 GHz or faster
- GPU: 2 GB VRAM, supports DirectX 12 / Metal
- Storage:SSD strongly recommended, 20 GB free space
What hardware do you recommend for smooth performance?
- RAM: 16–32 GB (32 GB if you use lots of masks or very high-MP files)
- CPU: 6–8 cores with high clock speed (Intel i7/i9, AMD Ryzen 7/9, Apple M-series chips)
- GPU: Mid-range or better with 4–8 GB VRAM (NVIDIA RTX 3060+, AMD RX 6600+, Apple Silicon integrated GPUs perform well)
- Storage: Fast internal NVMe SSD for catalog, previews, and cache; external SSD fine for photo storage
Yes. In fact, that’s the whole idea. Every preset is a starting point meant to be adjusted, combined, and fine-tuned for your image and your style.
Lightroom’s masking isn’t quite as surgical as Photoshop’s channel-based luminosity masks, but the Rethink system’s built-in masks are highly refined. They give you precise tonal control for most editing situations without leaving Lightroom.
- Toolkit Buyers: A full user guide and technical support for installation and file-related issues.
- Course Students: Everything above, plus priority email support and access to the private course community for feedback, Q&A, and creative discussion.
When you purchase, you’ll get login details right away. You have lifetime access to stream all lessons online, 24/7, on any device with an internet connection. The videos are not available for download.
Yes. All minor updates and bug fixes are included. Major version updates with new tools or significant new content may have a small upgrade fee.
Yes. The Rethink system uses AI-powered masks, adaptive presets that intelligently target skies, foliage, water, and more, plus tools tuned for HDR displays. The workflow is built to take advantage of Adobe’s most advanced technology.
Yes. The presets can be synced to Lightroom Mobile or the Lightroom app on iPad through your Adobe account. However, for the most precise editing and full access to the workflow, we recommend using Lightroom Classic or Adobe Camera Raw on desktop.
Yes. While the toolkit is designed with color landscapes in mind, many of the tonal, detail, and masking tools work beautifully for black and white editing. We also have a dedicated Rethink Monochrome product in development for those who specialize in black and white landscapes.
The system was designed for landscapes, but the tonal, detail, and masking tools can be applied to many subjects. For example, the dodge and burn tools, clarity adjustments, and color refinements can work well for portraits, architecture, and other styles.
It’s a one-time purchase. You get lifetime access to the toolkit or course you buy, along with all minor updates at no extra cost.
Yes. As long as both computers are for your personal use, you can install the presets on multiple devices. Simply sync or copy the preset files to each system where you run Lightroom or Adobe Camera Raw.
No, the core presets work entirely offline once installed. However, certain Lightroom features that the toolkit uses — such as AI-powered masks and adaptive presets — require an active internet connection because Adobe processes them through its cloud services. Internet is also required for downloading the toolkit initially, syncing with Lightroom Mobile, or streaming the course content.
Yes. We have a 30-day satisfaction guarantee. If you try the toolkit or course and feel it hasn’t improved your editing process, we’ll issue a full refund.

Coming Soon to the Rethink Series
-

Rethink Monochrome
Get on the Waiting ListMaster black & white landscape photography.
Unlock the power of black and white. Develop a deeper understanding of tone, texture, and composition to create stunning monochrome images.
-

Rethink Nightscape
Get on the Waiting ListCapture the beauty of the night sky.
Master the unique challenges of night photography. Learn to control noise, enhance detail, and create breathtaking images of the cosmos.


-
100% Secure Checkout
All transactions are secured with 256-bit SSL encryption. Your information is safe and will never be shared.
-
My 30-Day Satisfaction Guarantee
I stand behind this system completely. Try the toolkit and course for a full 30 days. If you don’t feel it has fundamentally transformed your editing, I will personally process a full, no-questions-asked refund.
-
Risk-Free Upgrade Path
Start with the toolkit today and decide to go deeper later. I’ll apply 100% of your toolkit purchase price towards the full course anytime you're ready to upgrade.You can't make the wrong choice.